Table of Contents
This step-by-step guide will help you connect Exa.ai with AI Content Labs.
Step 1: Access Your Exa.ai Account
Go to the Exa.ai website (https://exa.ai/) and log in. If you don’t have an account, sign up by following the instructions on the page.
Step 2: Generate Your Exa.ai API Key
Once inside your Exa.ai account, follow these steps to obtain your API key:
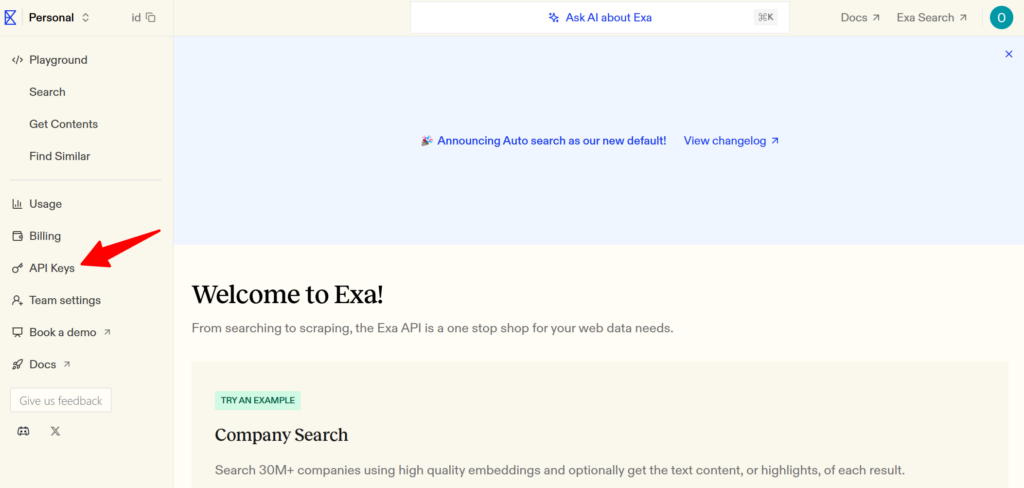
- In the left-hand menu, locate the “API Keys” section. The direct link is: https://dashboard.exa.ai/api-keys.
- Click on the “+ CREATE NEW KEY” button.
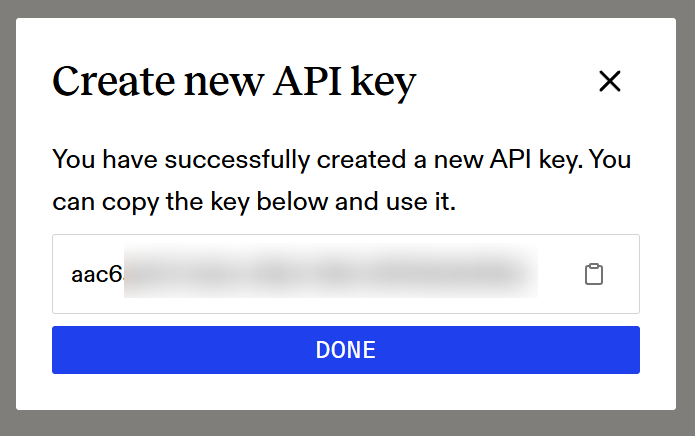
- In the “Create new API key” pop-up window, assign a reference name and copy the generated key. It is essential to save this key securely. Once copied, click “DONE”.

Step 3: Configure the API Key in AI Content Labs
Now that you have your Exa.ai API key, integrate it with AI Content Labs:
- Log in to your AI Content Labs account.
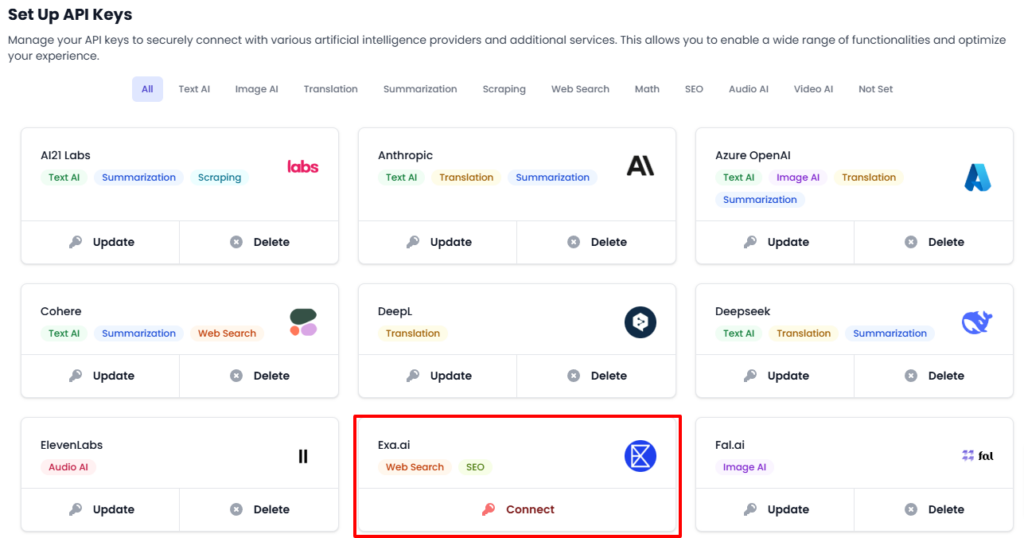
- In the user menu located at the bottom-left corner of the screen, select “Set Up API Keys”.
- Locate the Exa.ai card.
- Click “Connect”.
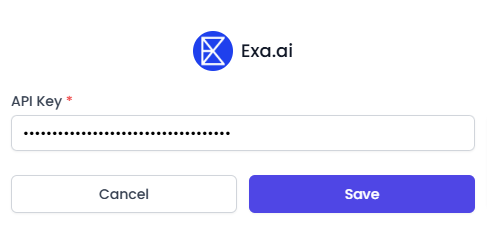
- In the pop-up window, paste the API key you copied into the “API Key” field.
- Click “Save”. If the key is valid, Exa.ai will be successfully connected. In case of an error, you’ll receive a message with additional details.
By completing these steps, you’ve integrated Exa.ai with AI Content Labs and can now use its web search functionalities. If you need further assistance, contact our support team.


